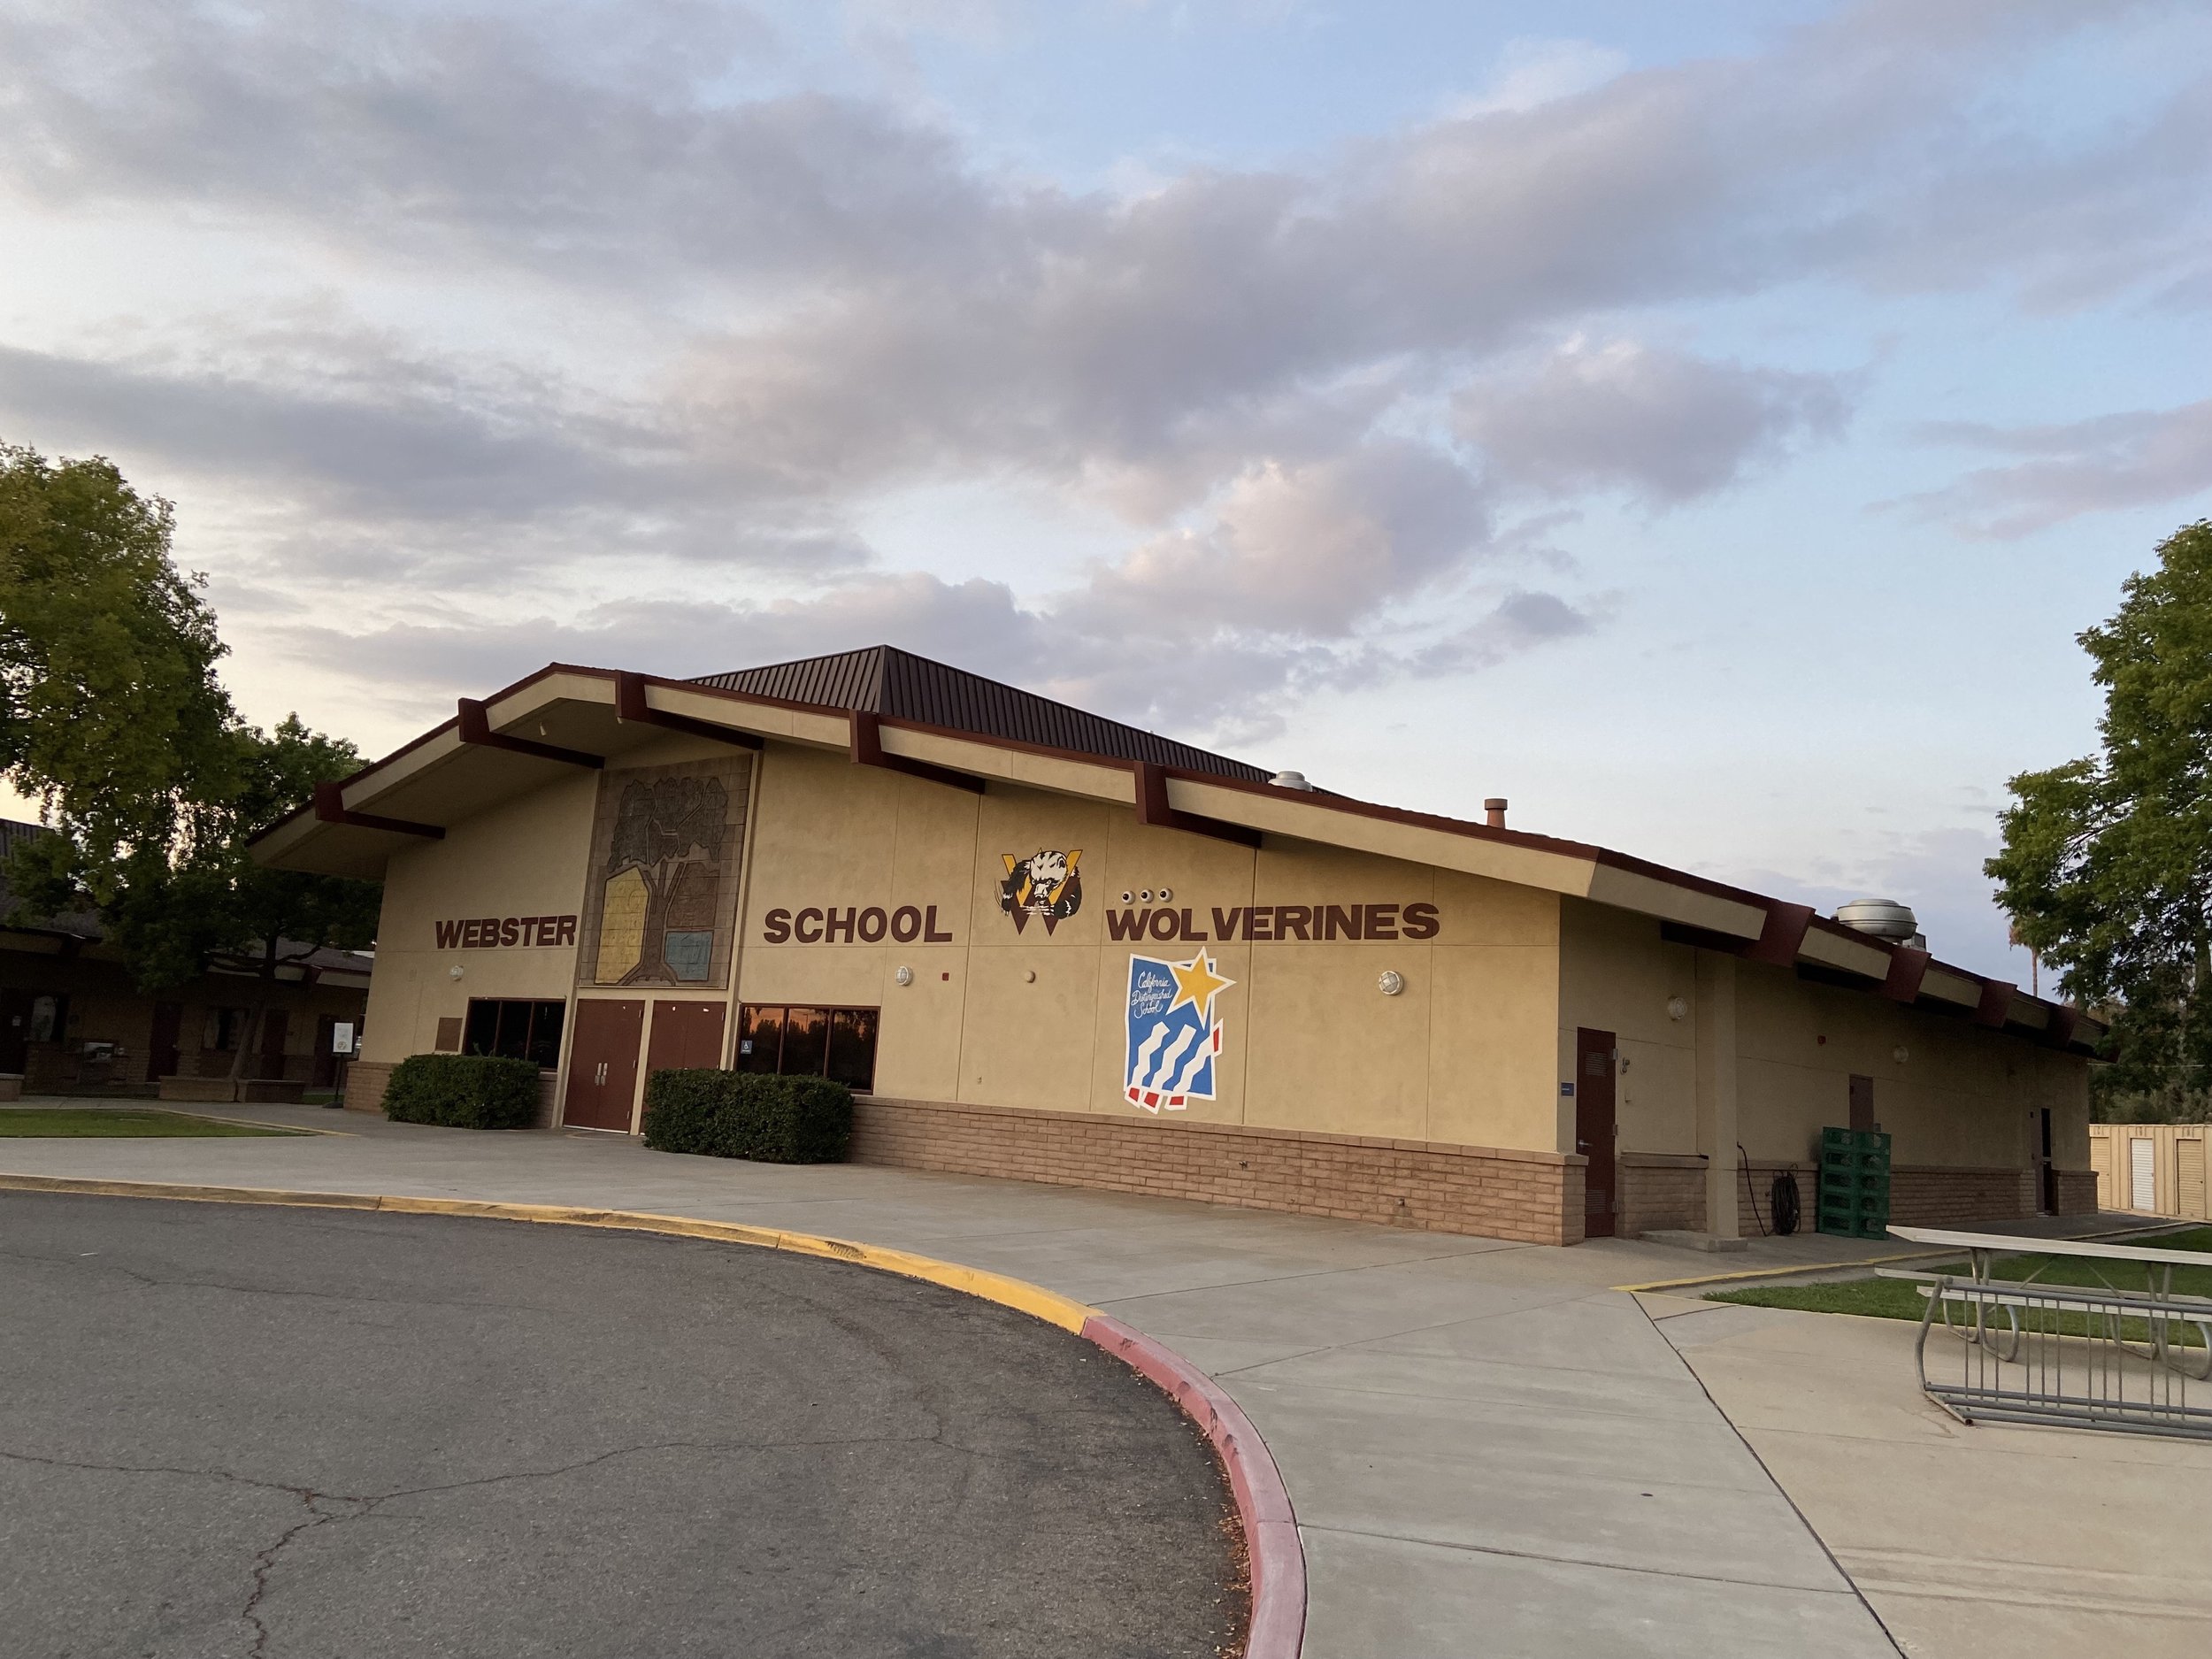
My first parent volunteer position at Webster was school Historian. I didn’t know many teachers and had yet to meet our new principal. I decided to begin my chronicle with a pictorial directory of the staff.
One by one I connected with each to get a picture. As I was photographing the principal, I realized my 35 mm camera had no film in it (good ole 90s). Not only was I mortified in the moment, but I also had to go back and admit my incompetence to each of the teachers, asking if I could retake their photos. Chalk one up to most embarrassing moments.
By the end of 1989-90 school year, I had produced a pictorial album which resided in the office—until someone, who was apparently good at purging, let it go. I wouldn’t expect the school to store 30+ years of school memorabilia, but that’s one thing I would love to see again.
Our children’s school years can be overwhelming when it comes to accumulating memorabilia. Today's Timely Tips have three “D’s” for managing keepsakes.
Timely Tips to manage kids’ keepsakes
Used with permission from Melissa Corriveau at Life with Less Mess
1. DECIDE ON CRITERIA
Start with the end in mind. Not many of us would say, “I wish my parents had saved more of my childhood stuff.” What things do you love seeing when you open a box from the past? Include those in your criteria.
Keep a sampling of things which give insight into your child’s thoughts, personality, development, and skills.
Include special artwork, story writing, awards, report cards, “About Me” assignments, teacher notes, photos, etc.
They should all recollect pleasant memories.
Worksheets, tests, participation ribbons, artwork with macaroni and glitter are good candidates for the can.
Even if your child wants to save everything now, her future self will thank you for not. One organized bin is a blessing. Multiple bins is a project.
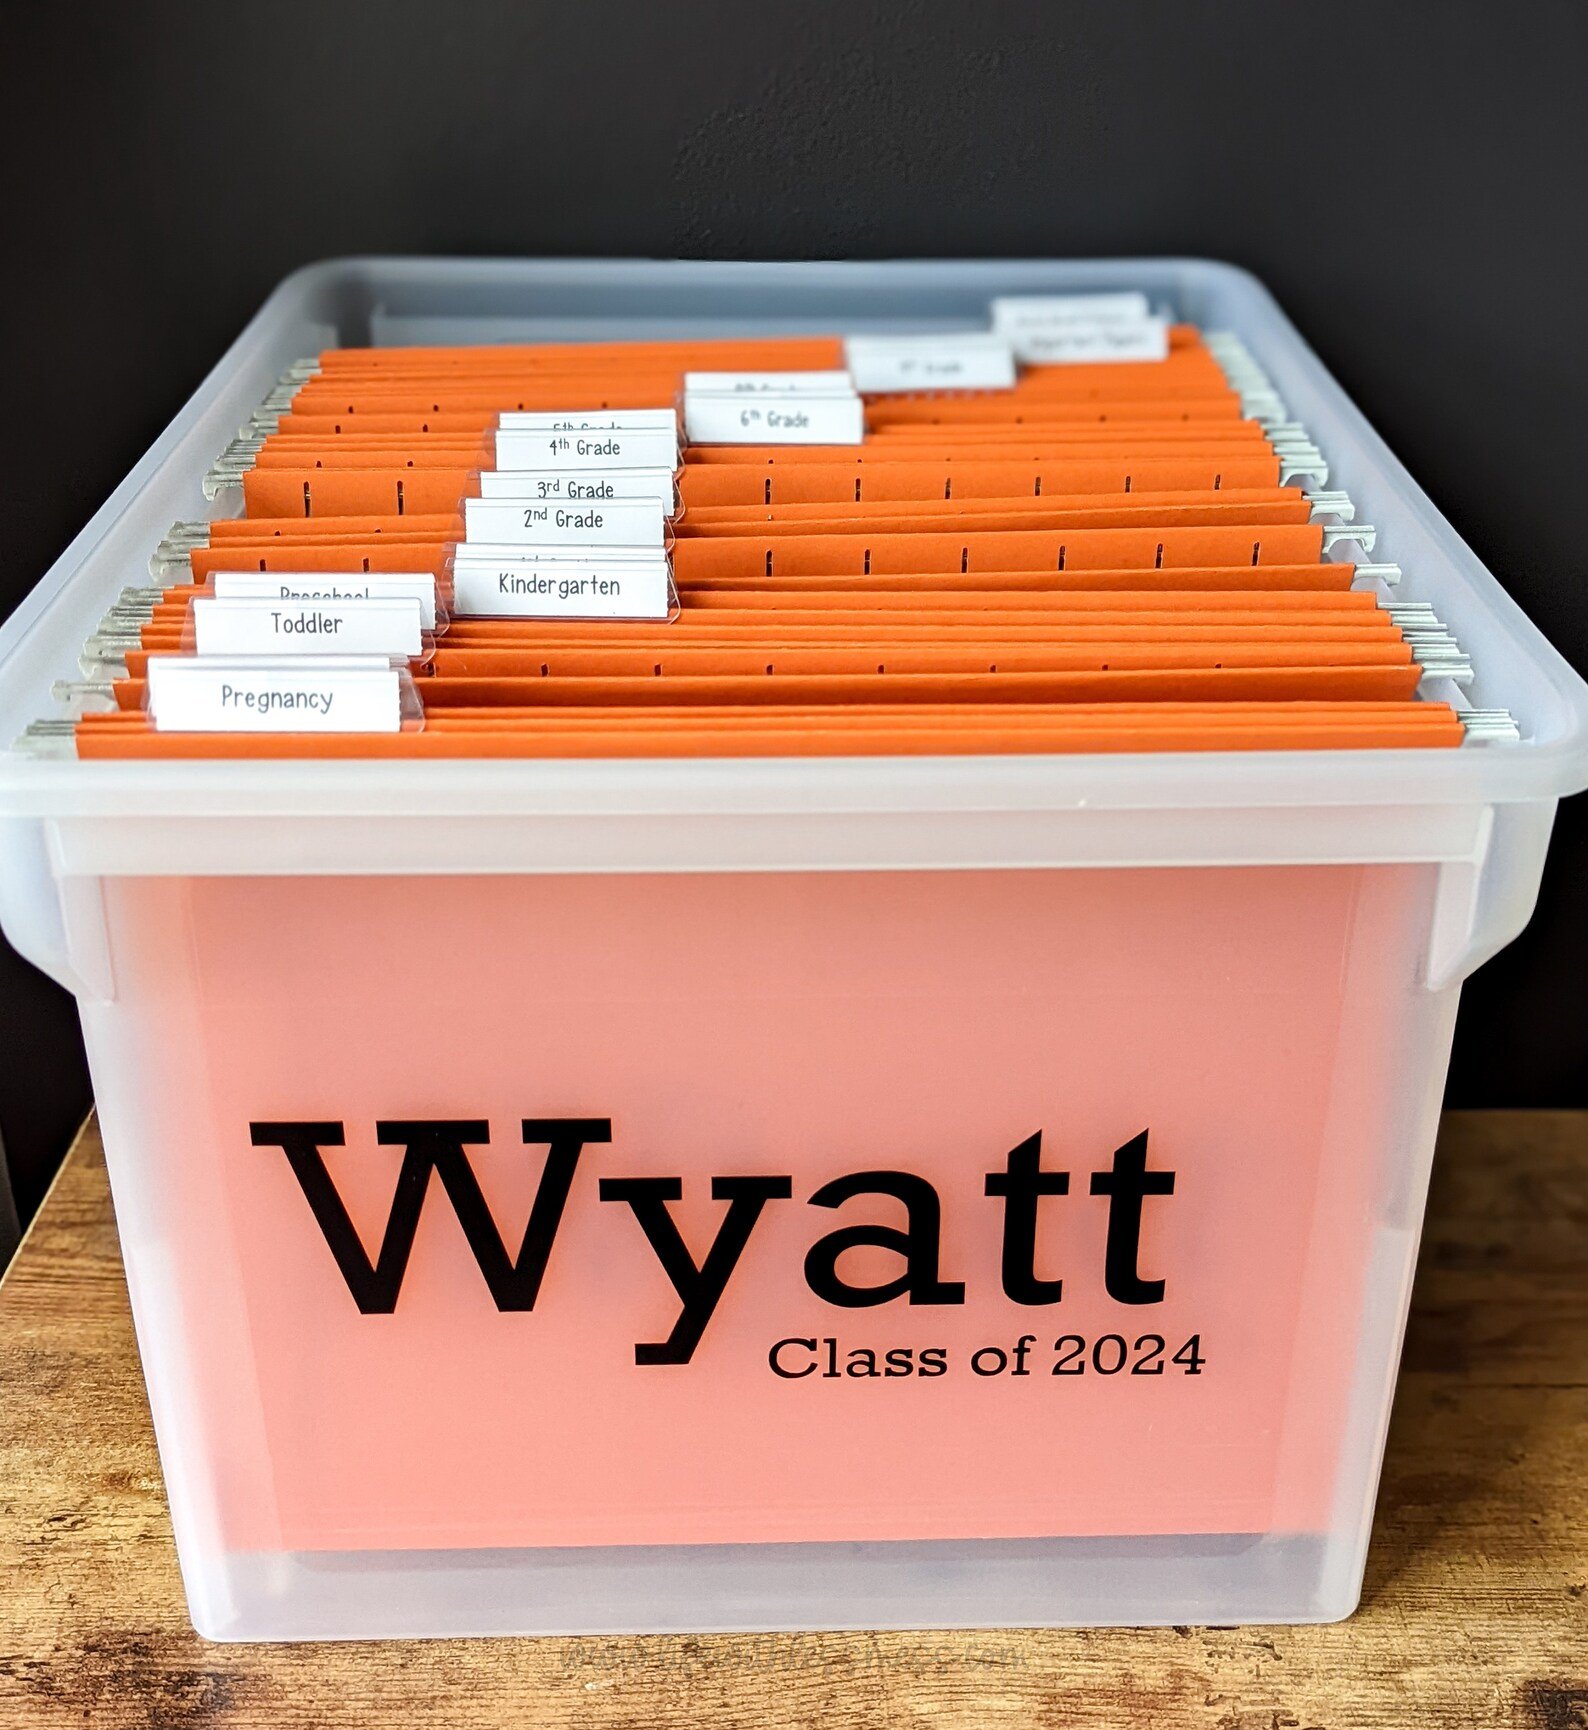
Memory Box Kits available from Melissa on Etsy.com
2. DESIGNATE A PLACE
Use a labeled binder with pocket folders (one for each school week) for papers/assignments the teacher requires students to keep.
Designate a labeled tray, magazine holder, or bin to temporarily capture items that are waiting to be sorted.
Keep both these items in the hub of your home so you can easily access them.
For items that fit your keepsake criteria create a Memory Bin using a file box (18 1/2" L x 14" W x 11" H available at Target/office supply stores).
Prepare it with hanging folders labeled Preschool, Kindergarten, 1st Grade through high school. You may customize with additional folders depending on your child’s interests and activities. (Kits available on Etsy)
If it doesn’t fit in a handy place, like the child’s closet, use a 16-quart bin to temporarily store keepsakes. Relocate into the Memory Bin file at the end of the year.
Use the Memory Bin as the boundary and purge as necessary so that your child will have one bin (blessing) instead of multiple bins (burden) in the end.
Photo by Jerry Wang on Unsplash
DEVELOP A SYSTEM
Daily remove papers from the child’s backpack and do a quick sort into the teacher binder, Memory Bin, or recycling can.
On crazy days use your temporary holding tray/bin.
Schedule time at the end of each week to sort your temporary bin. Relocate items to their proper places.
When age-appropriate, train your child to do this. (Our job is to work ourselves out of a job.)
EXTRA CREDIT
Create photo books of your child’s keepsakes.
Place each item on a white foam board. Snap a photo with your phone.
Upload to a photo book website and if desired, add text.
You’ll reduce the amount of storage space by 90% and you and your child will be more likely to peruse the keepsakes you’ve preserved in this format.
Comical Words
Respect your parents. They passed school without Google. -Anonymous
Here are a few things I love seeing from my 2nd grade year: my toothless grin, a report card, a note from the principal, and a program from our neighborhood play called "Keep Out." Less is more!


