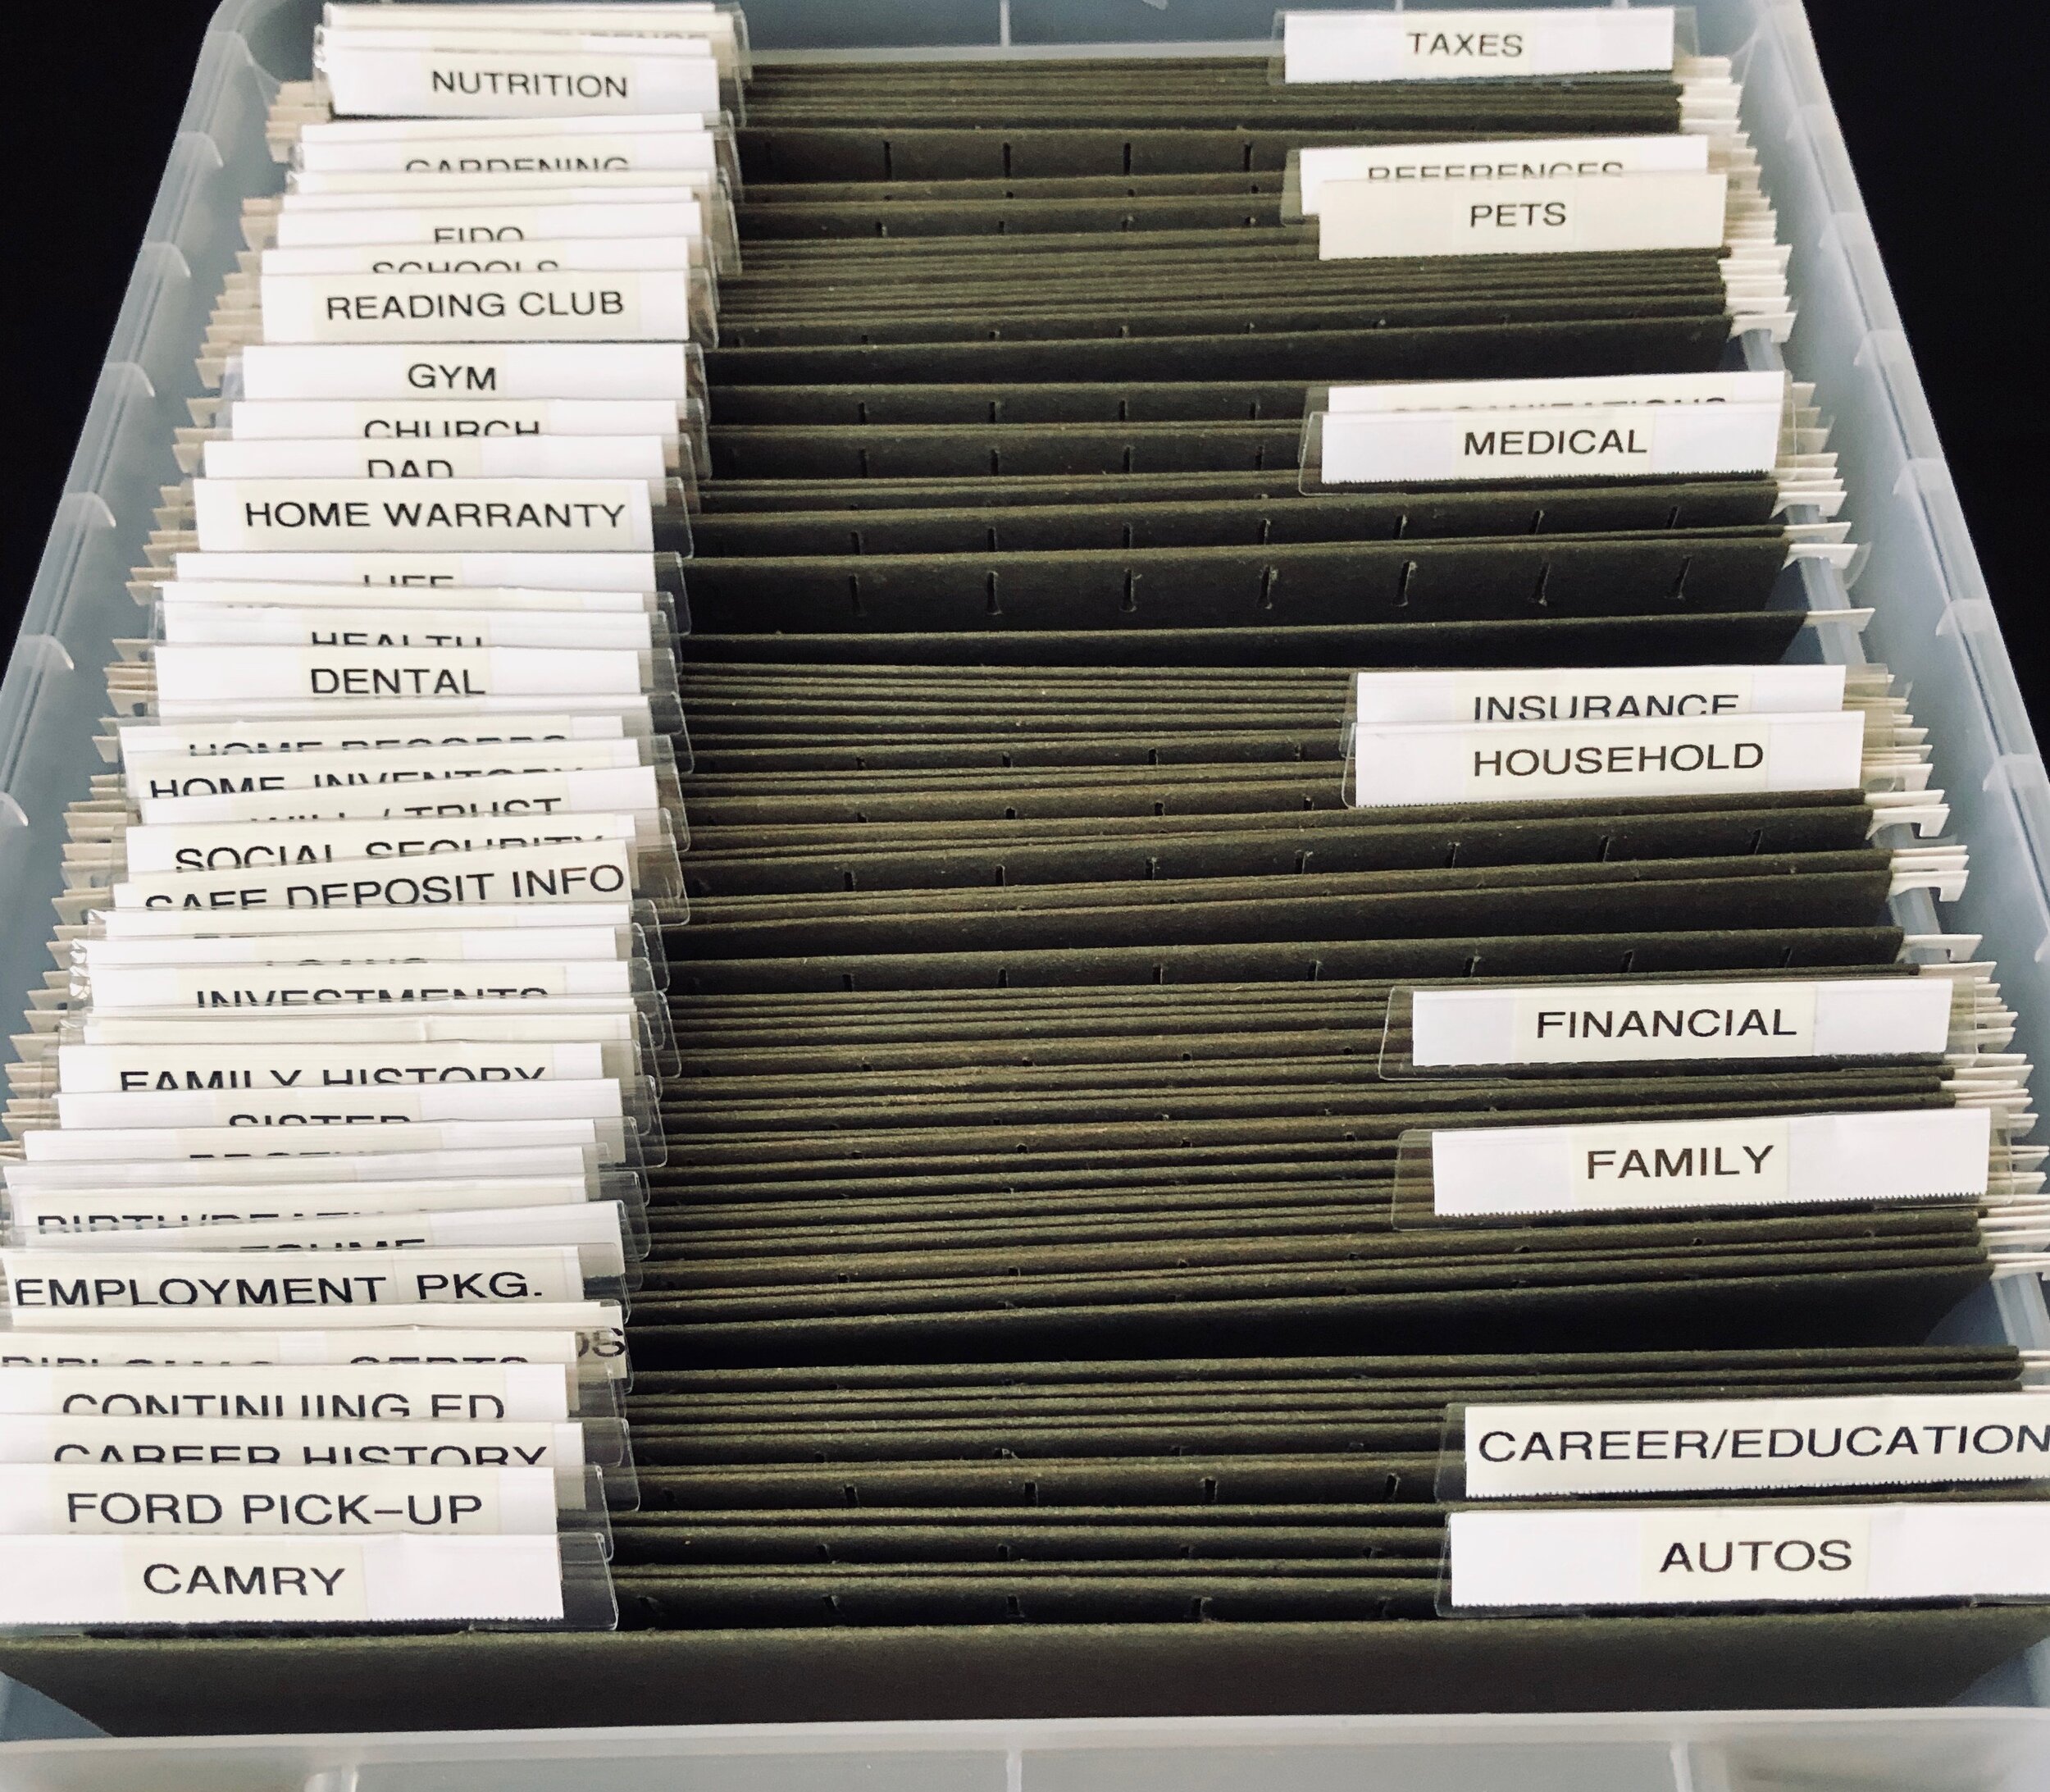
Do you want a safe and effective way to lose 20 pounds in a day? Purge your files. Do you want to make things easier on your kids when you die? Purge your files. Do you want to be able to find important documents faster and easier? Purge your files.
There are a lot of benefits to organizing your paper. The only downside is the process. I remember a client saying, “I have to wait until my fear of doing it is overcome by my fear of not doing it.” Filing isn’t second nature to most people.
In addition to it not being fun, paper piles and overstuffed files are due to deferred decisions. The cause is a lack of knowledge or confidence about the following:
What to keep
How to store it
When to let it go
Here are some Timely Tips to convert your over-stuffed files and piles, into smiles.
Timely Tips for paper piles and files
1. Get informed. Know which documents to keep and how long they need to be saved. You can access a record retention guide here: www.suzeorman.com/resources/record-keeping. Always allow your CPA/Attorney to have the final say on what you need to keep.
2. Gather the following supplies:
Boxes or bags labeled “To Be Sorted,” “Shred,” and “Recycle.”
A sturdy file cabinet that opens easily and completely. I recommend Hon.
Hanging files, regular folders, and a label maker or marker.
A clear space to work. (#3 will help with that.)
3. Collect your papers. Gather the paper piles from everywhere and place them into the To Be Sorted box(es). Don’t include the current bills to pay and other items you need to take action on. (See instructions for those here.) Set your To Be Sorted box(es) aside in a closet or someplace out of the way until step five.
4. Purge your file drawers. Grab a handful of files from your file drawer and go to your workspace where you have your Shred and Recycle boxes/bags. Systematically go through each file and purge the items you no longer need, based on your retention guide (see #1). Replace your completed stack and grab another so that it remains manageable as you go along. If you need to break before finishing, place a Post-it note sticking up where you stopped. You may do this over a period of time but give yourself a deadline, so it gets done.
5. Sort & File your paper piles. Bring your To Be Sorted box(es) to your workspace. Grab a handful of papers and begin sorting. Make a stack of those that need filing, and place the rest in Shred or Recycle, based on your retention guide (see #1). Continue the process until you’ve emptied your box(es).
6. Finish Filing. File your remaining papers in the file drawer. Create folders if needed.
7. Shred & Recycle. Place your recycle in your recycle bin and if your shredding is more than you care to do at home, take it to an office supply store, UPS store, or shred company.
CATEGORIES: If you’re creating a file system from scratch, or your system is lacking structure, consider setting up your files in categories. Here’s a sampling of potential categories:
Autos
Career/Education
Family
Financial
Household
Insurance
Medical
Organizations
Pets
Resources
Tax Documents
Vital Documents
Warranties/Manual
Create tabs for each category and for each folder within that category. Place the category tabs on the right, and the individual tabs on the left and alphabetize. You may also use different colored folders or different drawers to separate categories.
wise words
The ideal paper flow should be a continual process of gather - keep - discard. --Judith Kolberg


